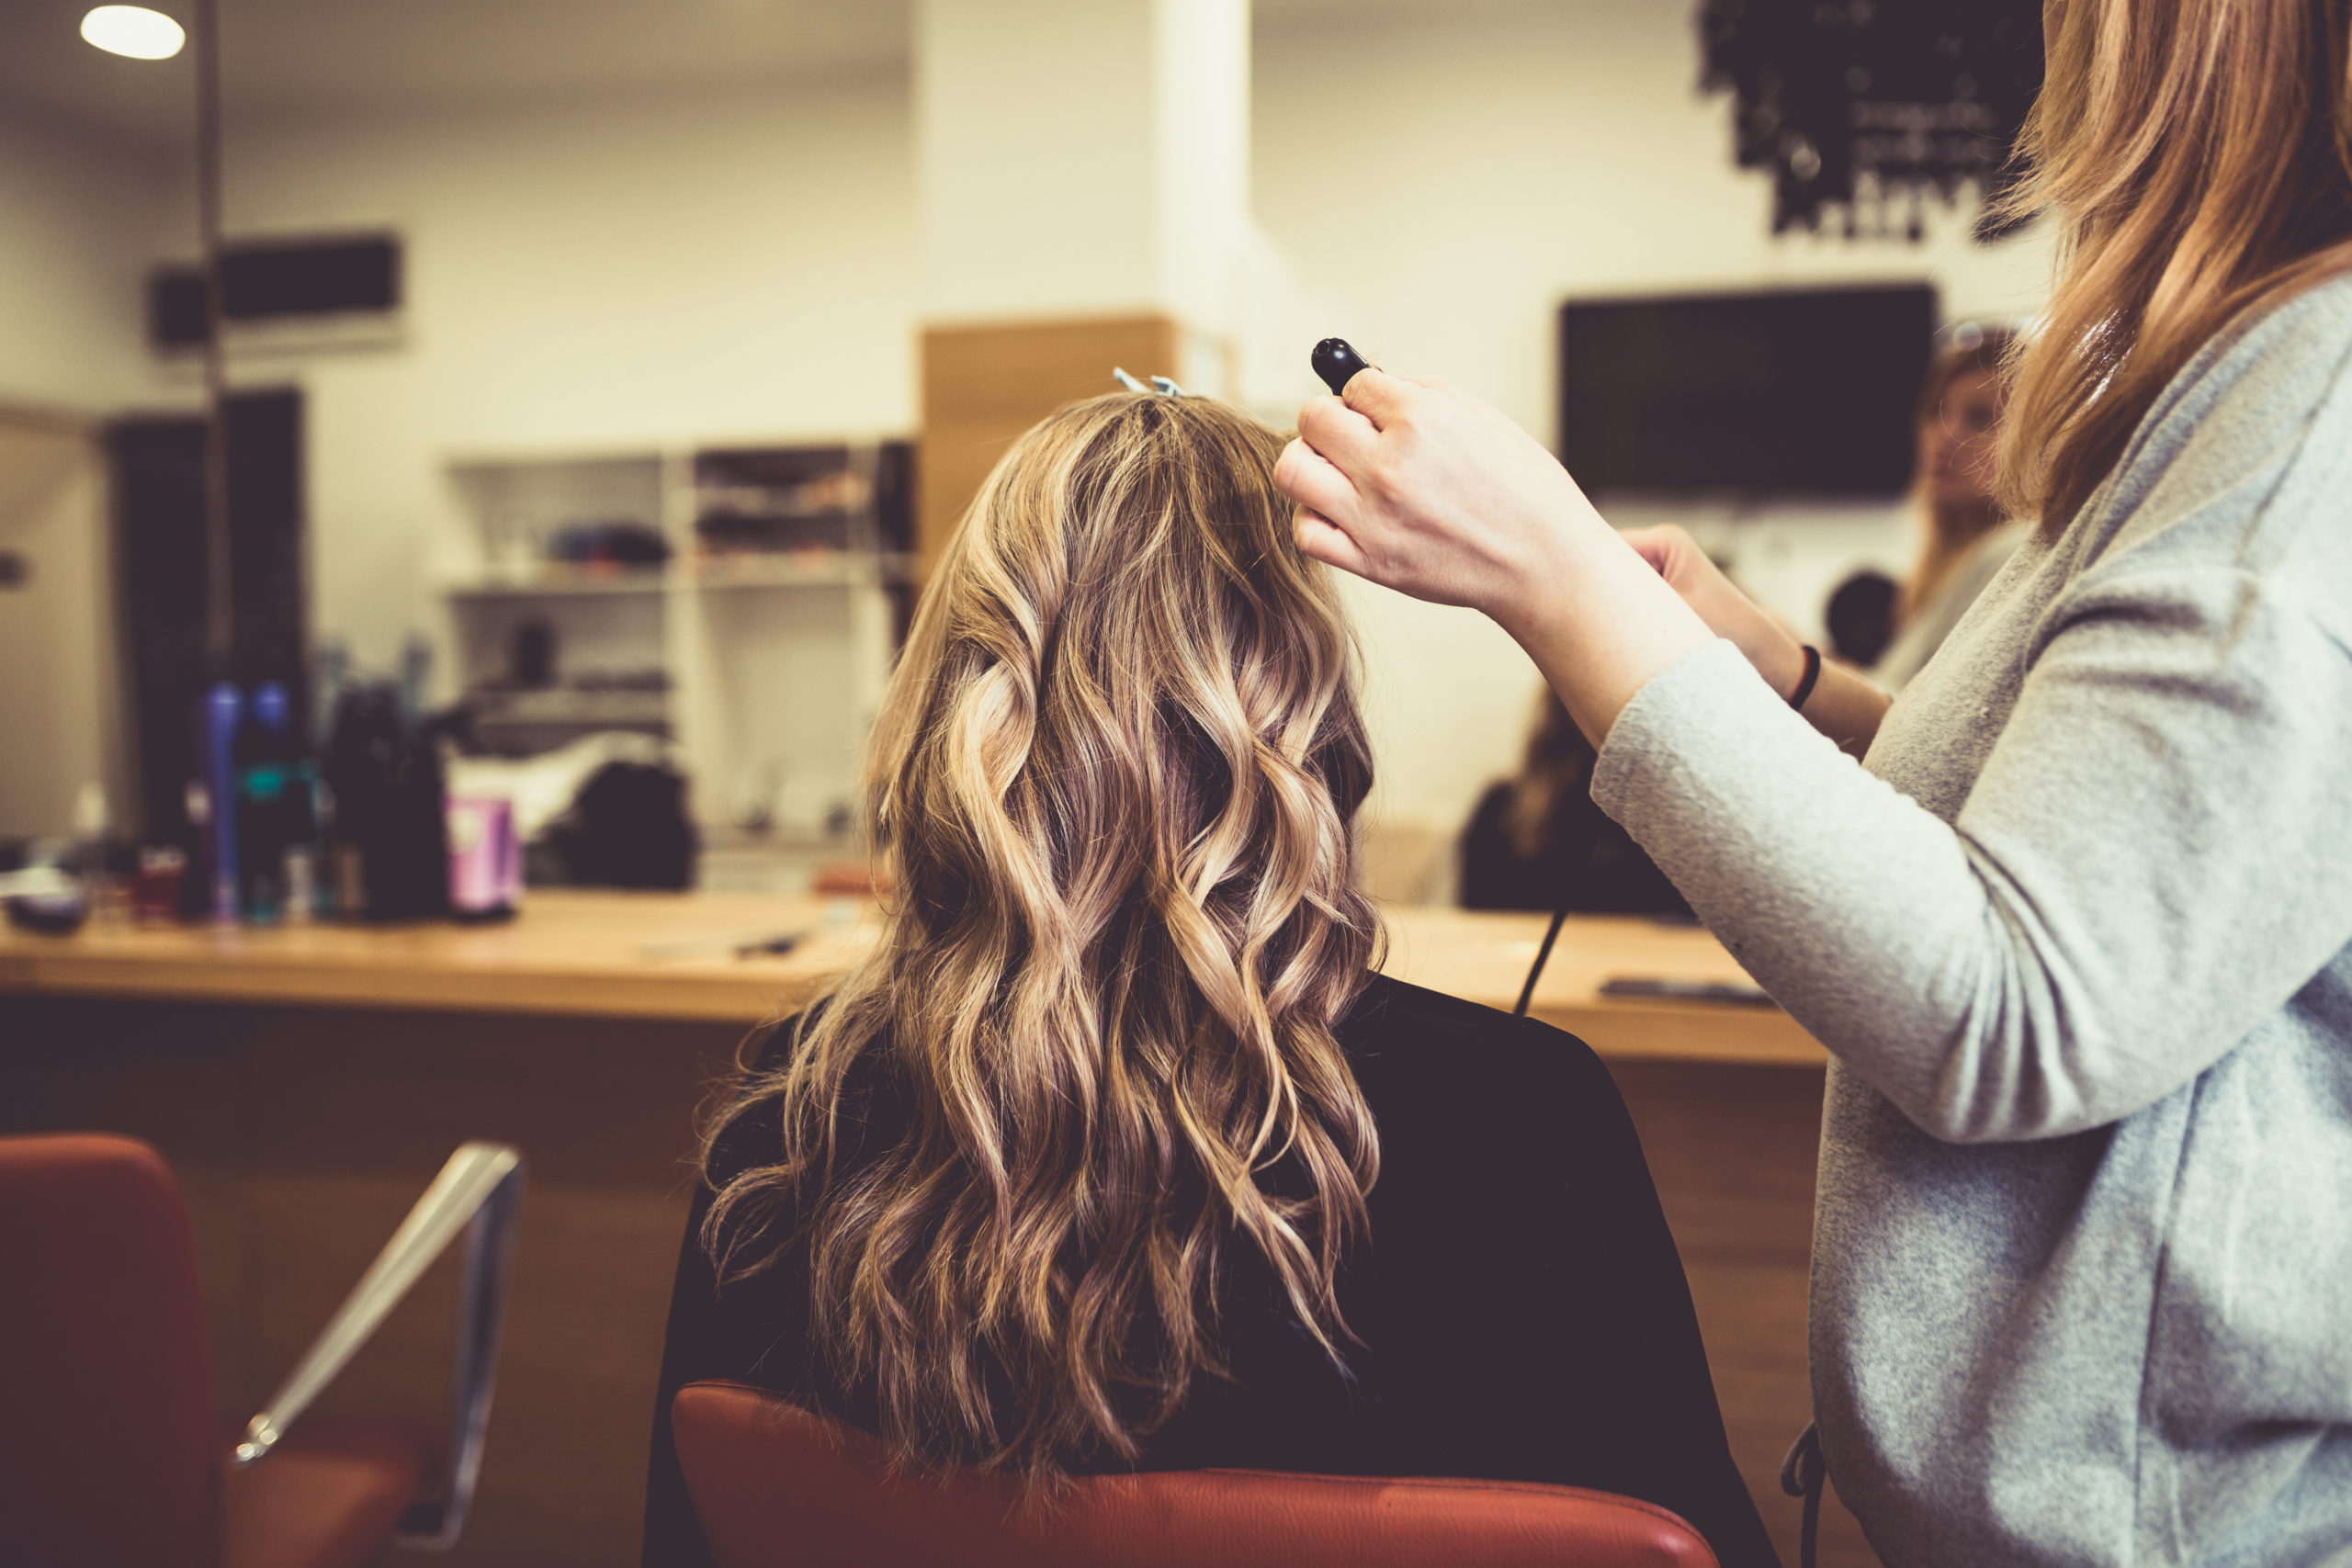
Have You Ever Wanted to Install Hair Extensions?
Hey Crownz Queens! Ever dream of instantly transforming your hair with added length and luscious volume? Ready to learn how to install hair extensions? Hair extensions are a fantastic way to achieve that red-carpet-ready look right at home! Whether your natural hair is short, fine, or you simply crave a change, this comprehensive guide will walk you through the exciting world of DIY hair extension installation. Let’s get started on your hair transformation journey!

What Exactly Are Hair Extensions?
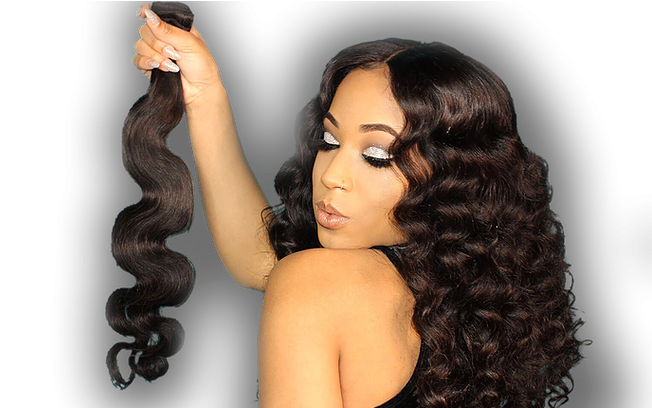
Hair extensions, often referred to as hair weaves or artificial hair integrations, are strands or wefts of hair that are added to your natural hair to create length and fullness. They come in two main types:
- Human Hair Extensions: Known for their natural look and feel, human hair extensions can typically be styled, dyed, and treated like your own hair.
- Synthetic Hair Extensions: A more budget-friendly option, synthetic extensions have improved in quality and are great for temporary styles, though they may not offer the same versatility as human hair.
Exploring Different Hair Extension Methods for Every Crownz Queen:
The beauty of hair extensions lies in the variety of application methods available. Here’s a glimpse into some popular techniques you can try at home:
- Clip-In Hair Extensions: The easiest and most temporary option, clip-ins involve wefts of hair attached to clips that you secure to the roots of your natural hair. Perfect for instant volume and length on special occasions.
- Sew-In Hair Extensions: A more long-lasting method, sew-ins involve braiding your natural hair into cornrows and then sewing wefts of extension hair onto the braids. This technique offers a secure and relatively low-damage way to add significant length and volume.
- Glue-In Hair Extensions: Designed for seamless blending, glue-in extensions involve applying specialized hair glue to wefts of hair and then attaching them to the roots of your natural hair. This method can provide a very natural look.
- Crochet Hair Extensions: Similar to sew-ins, crochet extensions involve creating cornrows and then using a latch hook to attach the extension hair to the braids. This method is often considered gentler on the hair.
Your DIY Hair Extension Handbook: Step-by-Step to Gorgeousness
Ready to take the plunge and install your own hair extensions? Here’s a step-by-step guide to help you achieve professional-looking results:
Step 1: Gather Your Royal Supplies:
Before you begin, make sure you have everything you need:
- Your chosen Extension Hair (human hair is often recommended for the best quality)
- Wide-tooth comb
- Rat-tail comb
- Natural Sulfate-free Shampoo
- Natural Conditioner
- Deep conditioner (optional)
- Moisturizer for natural hair
- Hair glue (for glue-in extensions)
- Styling gel, cream, or mousse
- Thread and curved needle (for sew-in extensions)
- Latch Hook (for crochet extensions)
- Hair scissors
- Heat protectant spray (if using heat styling tools)
Step 2: Choosing Your Crowning Glory: Extension Hair Options:
- Human Hair: Offers the most natural look, can be reused, and allows for heat styling and coloring.
- Synthetic Hair: More affordable for short-term use, but may not look as natural or last as long and can tangle more easily.
Step 3: Prepping Your Natural Hair: The Foundation of Flawless Extensions:
Clean hair is essential for proper extension attachment and longevity:
- Shampoo: Thoroughly wet your hair and massage in a sulfate-free shampoo to remove dirt and oil. Rinse completely.
- Condition: Apply conditioner, focusing on the ends. Detangle gently with a wide-tooth comb or your fingers. Rinse thoroughly.
- Deep Condition (Optional): For extra moisture, apply a deep conditioner, cover with a shower cap, and leave on for 15-30 minutes before rinsing.
- Moisturize: While your hair is still damp, apply a cream moisturizer and seal with a light oil like argan or almond oil. Twist or braid your hair in sections to lock in moisture.
Step 4: Stretching Your Hair (Optional but Recommended for Seamless Blending):
Stretching helps to prevent bulkiness and makes the extension installation process easier. Here are a few methods:
- Banding: Section your hair, brush each section, and secure with hair ties down the length of the ponytail to gently stretch.
- Blow Drying (Low Heat): Section your hair and use a blow dryer on the lowest heat setting, pulling each section taut while drying from roots to ends. Use a Denman brush for extra stretch.
- Braiding: Braid your damp, sectioned hair and allow it to air dry. Once dry, gently unravel the braids.
Step 5: Installing Your Chosen Extension Type:
- Clip-In Extensions: Part your hair horizontally where you want to place the extensions. Tease the roots slightly for better grip. Open the clips on the extension weft and secure them to your roots. Start at the nape of your neck and work your way up. Blend your natural hair over the clips for a seamless look.
- Sew-In Hair Extensions: Create a U-shaped part at the top of your head and secure it. Braid the rest of your hair into cornrows following a U-shape pattern. Thread a curved needle and knot the thread. Attach the extension wefts to your braids by sewing them on securely, knotting the thread frequently. Release the top section and style to blend.
- Glue-In Hair Extensions: Part your hair horizontally at the nape of your neck. Measure the extension weft and cut if needed. Apply a thin layer of hair glue to the track of the extension. Starting at one end of your part, carefully press the glued weft onto your roots, leaving a small gap near your hairline. Hold firmly until secure. Repeat, working your way up your head. Style your leave-out hair to blend.
- Crochet Hair Extensions: Braid your hair into cornrows. Apply oil to your scalp. Fold a piece of extension hair in half. Insert the latch hook under a braid, hook the middle of the folded extension hair, and pull it halfway through. Release the loop from the hook and pull the ends of the extension hair through the loop to tighten. Repeat across your head, spacing the extensions as desired. Style your edges and any leave-out hair. Trim excess extension hair for your desired shape.
Pros and Cons to Consider Before You Extend:
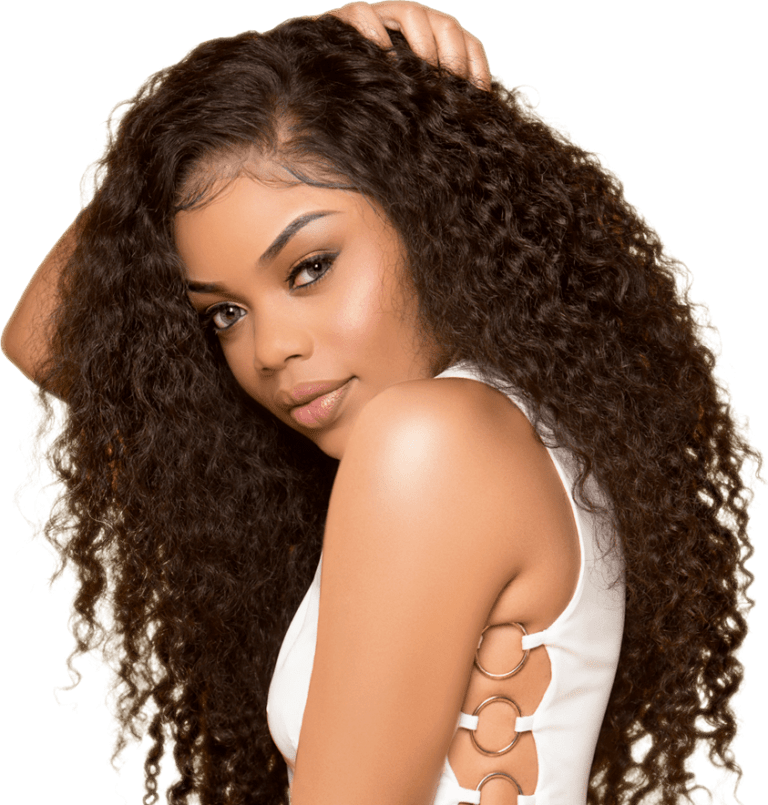
- Pros: Adds instant volume and length, offers versatile styling options, can last for several weeks or months, allows you to perfectly match your hair color and texture, and can minimize damage to your natural hair with proper installation.
- Cons: Improper installation can lead to visible tracks, some methods can potentially cause damage if not done correctly, and the process can be time-consuming.
Crownz Queen’s Dos and Don’ts for Hair Extension Success:
- Do: Be patient during the installation process. Thoroughly prep your natural hair. Choose high-quality human hair extensions whenever possible. Brush your extensions regularly to prevent tangling. Use heat protectant when styling with heat.
- Don’t: Use excessive heat on your leave-out hair. Go to sleep with wet extensions. Braid your hair too tightly, as this can cause breakage and tension alopecia.
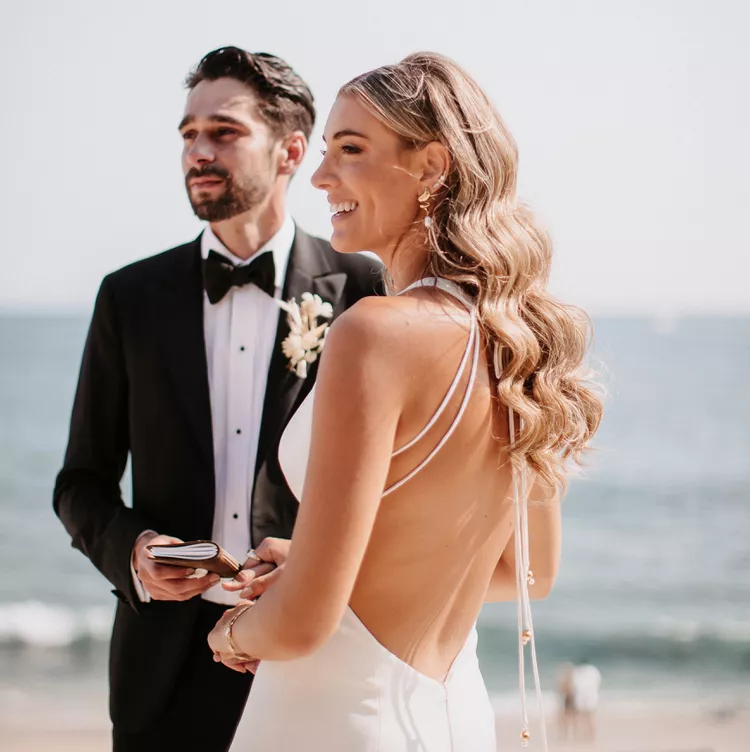
Conclusion: Embrace Your Hair Transformation!
Installing your own hair extensions can be a rewarding experience, allowing you to achieve the long, voluminous hair you’ve always desired. By following these steps and taking your time, you can unlock a world of new styling possibilities.
Ready to explore more ways to enhance your natural beauty? While we’ve covered DIY extensions, don’t forget the instant glamour and versatility of our stunning hair extension collection at https://crownzhairandbeauty.com! Find your perfect crown today.
Shine on, Crownz Queens!